Airtable、Gmail、OpenAI を使って顧客メールを自動返信
中級
これはTicket Management, AI Chatbot分野の自動化ワークフローで、12個のノードを含みます。主にGmail, Airtable, GmailTrigger, Agent, LmChatOpenAiなどのノードを使用。 Airtable、Gmail、GPT-4.1 Mini を使って注文メールを自動で返信する
前提条件
- •Googleアカウント + Gmail API認証情報
- •Airtable API Key
- •OpenAI API Key
ワークフロープレビュー
ノード接続関係を可視化、ズームとパンをサポート
ワークフローをエクスポート
以下のJSON設定をn8nにインポートして、このワークフローを使用できます
{
"id": "GcjeYFWFTeThFDR3",
"meta": {
"instanceId": "18b0d04ad5030054be4ab49562e84ea4a079ab4cb036003697394140227c7e76",
"templateId": "6287",
"templateCredsSetupCompleted": true
},
"name": "Automatically Reply to Customer Emails with Airtable, Gmail, and OpenAI",
"tags": [],
"nodes": [
{
"id": "91c45a87-a5e7-4446-ad36-52b779a04ff5",
"name": "AIエージェント",
"type": "@n8n/n8n-nodes-langchain.agent",
"position": [
1680,
704
],
"parameters": {
"text": "=Tu es un agent support IA pour une solution SaaS B2B utilisée par des milliers d’entreprises.\nTu reçois énormément d’emails de clients et prospects tous les jours : demandes de devis, questions techniques, soucis de facturation, bugs, demandes d’infos sur les fonctionnalités.\nTon rôle est d’y répondre rapidement avec un style naturel, amical, clair, technique et très concis.\n\nStyle de réponse\n\nLa réponse doit être très très courte (juste l’essentiel, pas de bla-bla inutile).\n\nAdapte-toi au ton du client :\n\nSi le client tutoie, tu le tutoies.\n\nSi le client vouvoie, tu le vouvoies.\n\nSois amical et humain (comme si tu écrivais à un collègue).\n\nSois technique quand il faut (donne étapes précises ou solutions directes).\n\nToujours répondre point par point au contenu exact du mail reçu.\n\nSi une info manque, pose 1 seule question claire pour avancer.\n\nStructure de la réponse\n\nAccroche personnalisée → dire bonjour avec le prénom si possible.\n\nAccusé de réception → montrer que tu as bien compris sa demande.\n\nRéponse concrète → donner directement la solution ou la prochaine étape.\n\nNext step → proposer une action simple (test, lien, précision à donner).\n\nClôture amicale → courte, sympa.\n\n\nID {{ $json.id }}\n\nTHREAD ID {{ $json.threadId }}\n\nSNIPPET {{ $json.snippet }}\n\nEMAIL {{ $json.From }}\n\nSUJET {{ $json.Subject }}\n\n\nvoici le lien du reset mdp : https://www.0vni.fr/",
"options": {},
"promptType": "define"
},
"typeVersion": 2.2
},
{
"id": "f10f7b53-8918-4c90-b7e8-8b573c01e78f",
"name": "受信メール",
"type": "n8n-nodes-base.gmailTrigger",
"position": [
1296,
704
],
"parameters": {
"filters": {},
"pollTimes": {
"item": [
{
"mode": "everyMinute"
}
]
}
},
"credentials": {
"gmailOAuth2": {
"id": "RpkU3PW6jAmCX8ih",
"name": "Gmail account"
}
},
"typeVersion": 1.2
},
{
"id": "222701be-af4e-441a-8c95-199c631c331a",
"name": "GPT4.1 MINIによる顧客返信送信",
"type": "@n8n/n8n-nodes-langchain.lmChatOpenAi",
"position": [
1648,
880
],
"parameters": {
"model": {
"__rl": true,
"mode": "list",
"value": "gpt-4.1-mini"
},
"options": {}
},
"credentials": {
"openAiApi": {
"id": "eDzFw4LYXVKJQcfH",
"name": "OpenAi account"
}
},
"typeVersion": 1.2
},
{
"id": "4972ea0f-8d5e-48eb-bb42-f00017a9d2ad",
"name": "Airtableへの保存",
"type": "n8n-nodes-base.airtable",
"position": [
2160,
704
],
"parameters": {
"base": {
"__rl": true,
"mode": "list",
"value": "appSgOTP5wQ6AM0X2",
"cachedResultUrl": "https://airtable.com/appSgOTP5wQ6AM0X2",
"cachedResultName": "BASE AGENT IA EMAIL"
},
"table": {
"__rl": true,
"mode": "list",
"value": "tbl4i0bKynEypdgtn",
"cachedResultUrl": "https://airtable.com/appSgOTP5wQ6AM0X2/tbl4i0bKynEypdgtn",
"cachedResultName": "Email Support Logs"
},
"columns": {
"value": {
"Message": "={{ $('Email Reçu').item.json.snippet }}",
"Subject": "={{ $('Email Reçu').item.json.Subject }}",
"AI Response": "={{ $('AI Agent').item.json.output }}",
"Customer Email": "={{ $('Email Reçu').item.json.From }}"
},
"schema": [
{
"id": "Subject",
"type": "string",
"display": true,
"removed": false,
"readOnly": false,
"required": false,
"displayName": "Subject",
"defaultMatch": false,
"canBeUsedToMatch": true
},
{
"id": "Date",
"type": "dateTime",
"display": true,
"removed": true,
"readOnly": false,
"required": false,
"displayName": "Date",
"defaultMatch": false,
"canBeUsedToMatch": true
},
{
"id": "Customer Email",
"type": "string",
"display": true,
"removed": false,
"readOnly": false,
"required": false,
"displayName": "Customer Email",
"defaultMatch": false,
"canBeUsedToMatch": true
},
{
"id": "Message",
"type": "string",
"display": true,
"removed": false,
"readOnly": false,
"required": false,
"displayName": "Message",
"defaultMatch": false,
"canBeUsedToMatch": true
},
{
"id": "AI Response",
"type": "string",
"display": true,
"removed": false,
"readOnly": false,
"required": false,
"displayName": "AI Response",
"defaultMatch": false,
"canBeUsedToMatch": true
}
],
"mappingMode": "defineBelow",
"matchingColumns": [],
"attemptToConvertTypes": false,
"convertFieldsToString": false
},
"options": {},
"operation": "create"
},
"credentials": {
"airtableTokenApi": {
"id": "vKZ5Wl43rmNFe0My",
"name": "Airtable Personal Access Token account 3"
}
},
"typeVersion": 2.1
},
{
"id": "3ae5bac1-4774-4daa-b516-a50492c5b3bc",
"name": "顧客への返信",
"type": "n8n-nodes-base.gmail",
"position": [
2592,
704
],
"webhookId": "f0ee3e32-5358-4869-99df-fb5779e21ae9",
"parameters": {
"message": "={{ $json.fields['AI Response'] }}",
"options": {},
"resource": "thread",
"threadId": "={{ $('Email Reçu').item.json.id }}",
"messageId": "={{ $('Email Reçu').item.json.id }}",
"operation": "reply"
},
"credentials": {
"gmailOAuth2": {
"id": "RpkU3PW6jAmCX8ih",
"name": "Gmail account"
}
},
"typeVersion": 2.1
},
{
"id": "d7d830d1-ea78-41f6-8261-aea5c7fb4dd4",
"name": "会話メモリ",
"type": "@n8n/n8n-nodes-langchain.memoryBufferWindow",
"position": [
1840,
880
],
"parameters": {
"sessionKey": "={{ $('Email Reçu').item.json.id }}",
"sessionIdType": "customKey"
},
"typeVersion": 1.3
},
{
"id": "a7c1d4db-0539-4db9-8f98-59e250645e17",
"name": "付箋",
"type": "n8n-nodes-base.stickyNote",
"position": [
272,
112
],
"parameters": {
"width": 928,
"height": 912,
"content": "# Automatically Reply to Customer Emails with n8n, Airtable, Gmail, and OpenAI\n\n## Introduction\n\nThis guide walks you step by step through setting up an automated agent that:\n- Receives emails sent by your customers. \n- Analyzes the content of the email. \n- Generates an appropriate response using an AI model (OpenAI GPT). \n- Stores all information (received email, AI response, date, customer email) in Airtable. \n- Automatically replies to the customer in the same Gmail thread. \n\n---\n\n## Prerequisites\n\nBefore you start, you’ll need: \n- A [Gmail](https://mail.google.com) account connected to n8n. \n- An [Airtable](https://airtable.com) account. \n- An [n8n](https://n8n.io) instance (cloud or self-hosted). \n- An [OpenAI](https://platform.openai.com) API key. \n\n---\n\n## Prepare the Airtable Base\n\nNo need to build everything from scratch — here’s a ready-to-use base you can copy: \n👉 [Open the Airtable base](https://airtable.com/invite/l?inviteId=invnYug7i1yK7gqd4&inviteToken=9cd007631d148208bf689d2af7fd95039839ca775a18ad434918652ea370b86e&utm_medium=email&utm_source=product_team&utm_content=transactional-alerts)\n\nIt already contains the following structure: \n- **Subject** (text) → email subject. \n- **Date** (date/time) → date of reception. \n- **Customer Email** (text) → customer’s email address. \n- **Message** (long text) → body of the received email. \n- **AI Response** (long text) → AI-generated reply. \n\nYou can reuse it as it is or duplicate it into your Airtable account. \n"
},
"typeVersion": 1
},
{
"id": "77461e99-0aab-4126-8019-424058945361",
"name": "付箋1",
"type": "n8n-nodes-base.stickyNote",
"position": [
1200,
-560
],
"parameters": {
"color": 6,
"width": 384,
"height": 1584,
"content": "## 1. Set Up Gmail Trigger in n8n\n\nAlright, now that we have our Airtable base ready, we need to capture customer emails. \nThat’s the job of the **Gmail Trigger**. Basically, this node lies in wait inside your inbox, and as soon as a new message arrives… *bam*, your workflow fires up.\n\n### Step 1: Connect Your Gmail Account\n- In n8n, add a **Gmail Trigger** node. \n- Click **Credential to connect with** and select your Gmail account. \n- If you haven’t done it yet, click **Add new**, connect your Google account, and allow access. \nPro tip: don’t worry, it won’t read your personal emails to gossip — everything stays inside your workflow. \n\n### Step 2: Basic Settings\n- **Poll Times**: select `Every Minute`. \n → This way, n8n checks your inbox every minute. \n- **Mode**: `Message Received`. \n → You want the flow to trigger whenever a customer writes to you. \n- **Event**: `Message Received`. \n → Same logic, keep it simple. \n- **Simplify**: turn it off (`OFF`). \n → Why? Because if you enable \"Simplify,\" you only get a stripped-down version of the email. And you want it all: subject, sender, raw message… the full package. \n\n### Step 3: Expected Output\nWhen you execute the node, you should see: \n- **id**: unique identifier of the email. \n- **threadId**: conversation identifier (super useful to reply in the same thread). \n- **snippet**: a short preview of the email (first lines). \n- **From**: your customer’s email address. \n- **To**: your email address. \n- **Subject**: the subject of the email. \n- **payload**: the full body of the email (yep, in base64 — but we’ll handle that later). \n\nAnd that’s it — your Gmail Trigger is set up. In short, the moment a customer writes “Hey, I have an issue with my account,” your workflow kicks in instantly (well, almost — it checks every minute). \n"
},
"typeVersion": 1
},
{
"id": "f1d51f68-15fb-47b6-9ce2-0c64c1c41042",
"name": "付箋2",
"type": "n8n-nodes-base.stickyNote",
"position": [
1584,
-560
],
"parameters": {
"color": 7,
"width": 384,
"height": 1584,
"content": "## 2. Set Up the AI Agent in n8n\n\nAfter configuring your **Gmail Trigger** (which captures incoming customer emails), you now need a **brain** to take over, analyze the email, and draft a reply. \nThat’s where the **AI Agent node** comes in.\n\n### Its Role\nThe **AI Agent** node is used to: \n- Read the email content (via the Gmail Trigger). \n- Understand the context and tone of the customer. \n- Generate a clear, concise, and human-like response. \n- Prepare a personalized reply that will later be sent back via Gmail and stored in Airtable. \n\nIn short, it’s your **24/7 support colleague**, but coded as a bot. \n\n---\n\n### How to Configure It\n- **Source for Prompt (User Message)** → choose `Define below`. \n- **Prompt (User Message)** → describe your business and role as if you were training an intern. \n Example: *“You are an AI support agent for a company that sells solar panels. You respond to technical requests, quotes, and customer questions. Your replies must be short, clear, friendly, and precise.”* \n- **Chat Model** → connect your AI model (e.g. OpenAI GPT-4.1 Mini). \n- **Memory (optional but recommended)** → connect a **Conversation Memory** node. \n → This allows the AI to retain conversation history and better understand follow-ups. \n\n---\n\n### Expected Output\nWhen you run this node, you should see in the output: \n- A field `output` containing the automatically generated AI reply. \n- The text should be short, natural, and adapted to the customer’s tone (casual or formal). \n\n👉 With the Gmail Trigger you capture emails, and with the AI Agent you get a reply ready to send — as if you had written it yourself. \n"
},
"typeVersion": 1
},
{
"id": "cce445a1-0b91-4533-9e6a-b7ecff97d9a0",
"name": "付箋3",
"type": "n8n-nodes-base.stickyNote",
"position": [
1968,
-560
],
"parameters": {
"color": 5,
"width": 496,
"height": 1584,
"content": "## 3. Save Emails and Responses in Airtable\n\nNow that your **AI Agent** generates replies, you need to store them somewhere to keep a clear record of all interactions. \nThat’s where **Airtable** comes in.\n\n### Quick Reminder\nYou’ve already copied my ready-to-use Airtable base: \n👉 [Access the base](https://airtable.com/invite/l?inviteId=invnYug7i1yK7gqd4&inviteToken=9cd007631d148208bf689d2af7fd95039839ca775a18ad434918652ea370b86e&utm_medium=email&utm_source=product_team&utm_content=transactional-alerts)\n\nThis base contains a table **Email Support Logs** with the following columns: \n- **Subject** \n- **Date** \n- **Customer Email** \n- **Message** \n- **AI Response** \n\n---\n\n### How to Connect Airtable in n8n\n1. Add an **Airtable** node right after your **AI Agent**. \n2. Under **Operation**, select `Create`. \n3. In **Base** → choose **BASE AGENT IA EMAIL**. \n4. In **Table** → select **Email Support Logs**. \n\n---\n\n### Map the Correct Values\nThen, link the fields as follows: \n- **Subject** → `{{ $('Email Received').item.json.Subject }}` \n- **Customer Email** → `{{ $('Email Received').item.json.From }}` \n- **Message** → `{{ $('Email Received').item.json.snippet }}` \n- **AI Response** → `{{ $('AI Agent').item.json.output }}` \n- **Date** → `{{ $now }}` \n\n---\n\n### Expected Output\nFor each new email received: \n- Gmail captures the email. \n- Your AI drafts the reply. \n- All details (email, sender, subject, reply) are automatically stored in your Airtable base. \n\n👉 You now have a fully automated **customer support log**. \n"
},
"typeVersion": 1
},
{
"id": "41d75e25-18db-4d52-bf1f-3799268e75b4",
"name": "付箋4",
"type": "n8n-nodes-base.stickyNote",
"position": [
2464,
-560
],
"parameters": {
"color": 6,
"width": 352,
"height": 1584,
"content": "## 4. Automatically Reply to the Customer in Gmail\n\nNow that you’re storing each interaction in Airtable, it’s time to **send your AI’s reply directly back to the customer**. \nThis closes the loop: customer writes → AI replies → everything gets logged in Airtable.\n\n### Add the Gmail Reply Node\n1. Add a **Gmail** node right after your **AI Agent** (or after Airtable if you prefer logging before replying). \n2. Under **Operation**, select `Reply`. \n3. Connect your Gmail account (same credential as your Gmail Trigger). \n\n### Configure the Reply\n- **Thread ID** → `{{ $('Email Received').item.json.threadId }}` \n → Ensures the reply is sent in the same conversation thread. \n- **To** → `{{ $('Email Received').item.json.From }}` \n → Customer’s email address. \n- **Subject** → `Re: {{ $('Email Received').item.json.Subject }}` \n → The \"Re:\" keeps the continuity of the conversation. \n- **Message Body** → `{{ $('AI Agent').item.json.output }}` \n → This is the text automatically generated by your AI. \n\n---\n\n### Expected Output\nWhen a customer sends an email: \n- Gmail Trigger captures the message. \n- The AI Agent generates a tailored reply. \n- Airtable logs the full interaction. \n- Gmail automatically sends the response in the same con\n"
},
"typeVersion": 1
},
{
"id": "bec8bbf3-c691-43bb-bb7e-b3e8dfcd7a1e",
"name": "付箋5",
"type": "n8n-nodes-base.stickyNote",
"position": [
272,
-352
],
"parameters": {
"width": 928,
"height": 464,
"content": "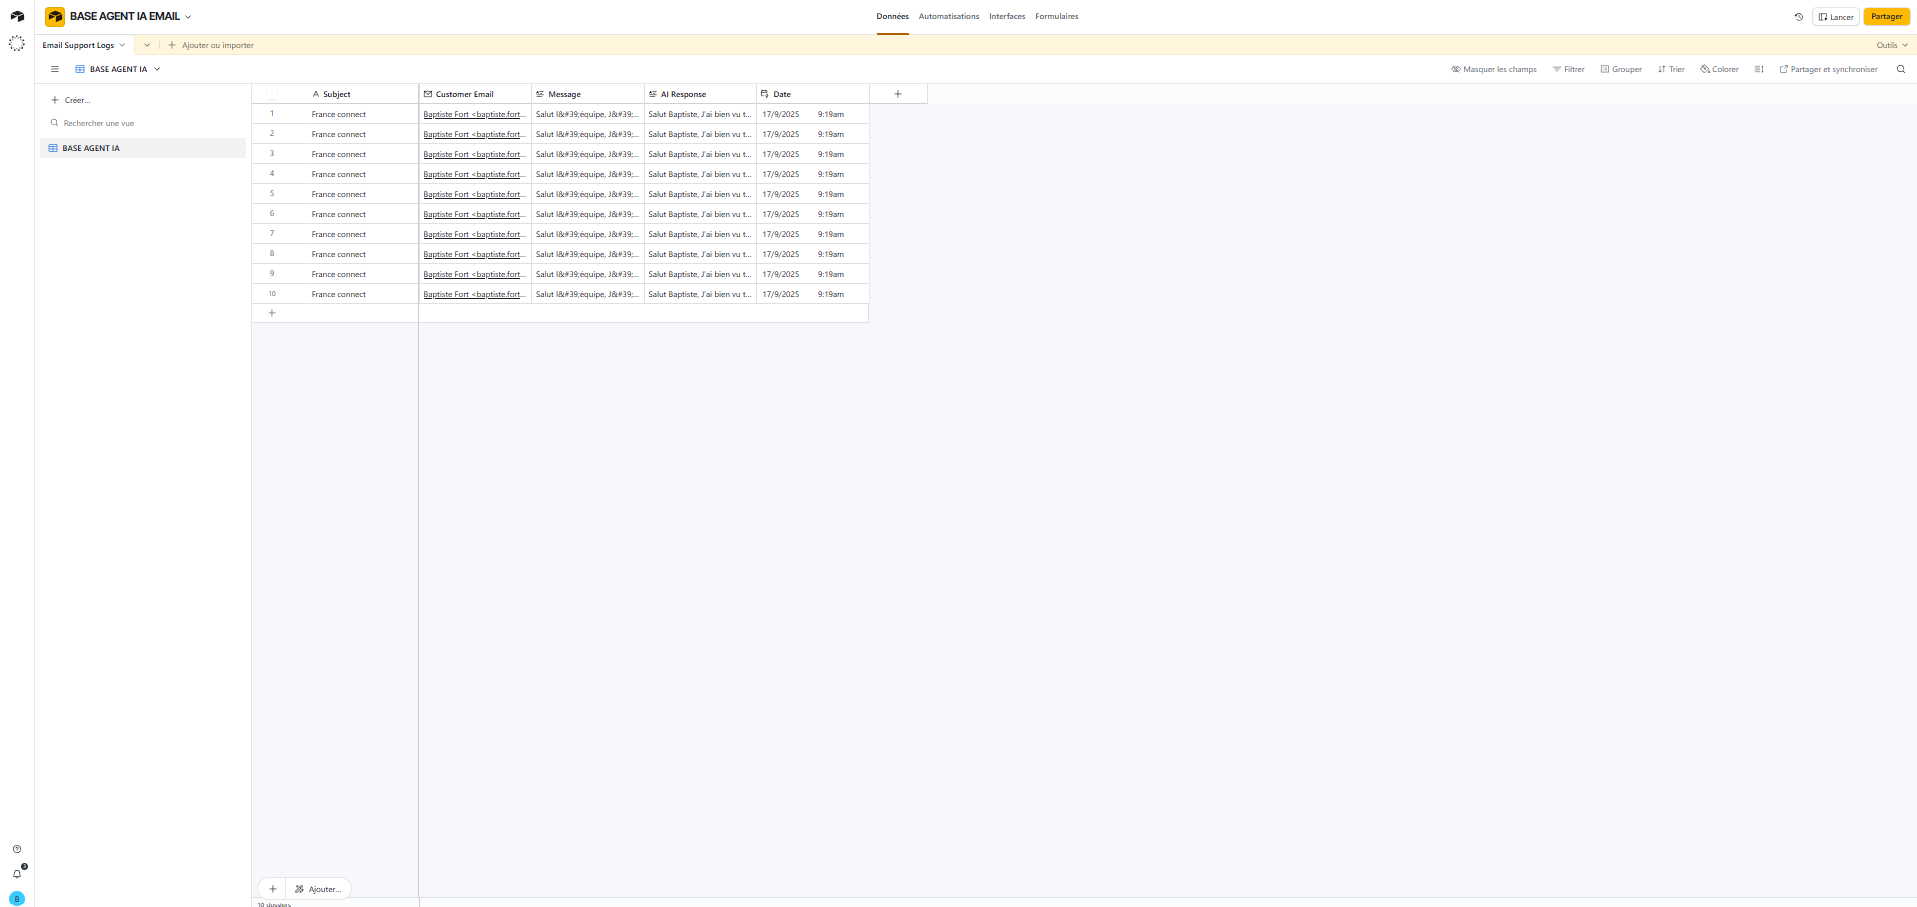\n"
},
"typeVersion": 1
}
],
"active": false,
"pinData": {},
"settings": {},
"versionId": "62a88b6b-abfb-4cd9-b916-6ae73fd43efe",
"connections": {
"91c45a87-a5e7-4446-ad36-52b779a04ff5": {
"main": [
[
{
"node": "4972ea0f-8d5e-48eb-bb42-f00017a9d2ad",
"type": "main",
"index": 0
}
]
]
},
"f10f7b53-8918-4c90-b7e8-8b573c01e78f": {
"main": [
[
{
"node": "91c45a87-a5e7-4446-ad36-52b779a04ff5",
"type": "main",
"index": 0
}
]
]
},
"4972ea0f-8d5e-48eb-bb42-f00017a9d2ad": {
"main": [
[
{
"node": "3ae5bac1-4774-4daa-b516-a50492c5b3bc",
"type": "main",
"index": 0
}
]
]
},
"d7d830d1-ea78-41f6-8261-aea5c7fb4dd4": {
"ai_memory": [
[
{
"node": "91c45a87-a5e7-4446-ad36-52b779a04ff5",
"type": "ai_memory",
"index": 0
}
]
]
},
"222701be-af4e-441a-8c95-199c631c331a": {
"ai_languageModel": [
[
{
"node": "91c45a87-a5e7-4446-ad36-52b779a04ff5",
"type": "ai_languageModel",
"index": 0
}
]
]
}
}
}よくある質問
このワークフローの使い方は?
上記のJSON設定コードをコピーし、n8nインスタンスで新しいワークフローを作成して「JSONからインポート」を選択、設定を貼り付けて認証情報を必要に応じて変更してください。
このワークフローはどんな場面に適していますか?
中級 - チケット管理, AIチャットボット
有料ですか?
このワークフローは完全無料です。ただし、ワークフローで使用するサードパーティサービス(OpenAI APIなど)は別途料金が発生する場合があります。
関連ワークフロー
予備モデルを使った最初のメールエージェントを構築する
最初の自動化されたメールサポートエージェントを構築する(AIバックアップとログ記録を含む)
Gmail
Gmail Trigger
Agent
+
Gmail
Gmail Trigger
Agent
11 ノードDavid Olusola
チケット管理
Gmail からの自動返信と Linear チケット作成(GPT-5、gotoHuman、人間審査使用)
Gmailから自動返信し、Linearチケットを作成するためにGPT-5、gotoHuman、および人間の承認を使用
Set
Code
Gmail
+
Set
Code
Gmail
37 ノードgotoHuman
チケット管理
Telegram承認付きAIメール返信アシスタント
OpenAIとTelegramでの承認を使用してGmailメール返信を自動化
If
Gmail
Telegram
+
If
Gmail
Telegram
16 ノードRoshan Ramani
チケット管理
Airtable CRM、Gmail、およびウェブリサーチを基盤としたAIセールスアシスタント
Airtable CRM、Gmail、およびウェブリサーチを基盤としたAIセールスアシスタント
If
Gmail
Switch
+
If
Gmail
Switch
40 ノードLeeWei
リードナーチャリング
WhatsApp / Telegram WooCommerce注文サポート
Telegram と Gmail を使用したGemini と GPT を使用した WooCommerce カスタマーサポートの自動化
Set
Gmail
Merge
+
Set
Gmail
Merge
25 ノードAppStoneLab Technologies LLP
サポートチャットボット
株式市場の日次レポートを自動化
Bright Data、GPT-4.1、Airtable、Gmail を使った自動化による毎日の株式市場レポート
Set
Wait
Switch
+
Set
Wait
Switch
27 ノードBaptiste Fort
コンテンツ作成